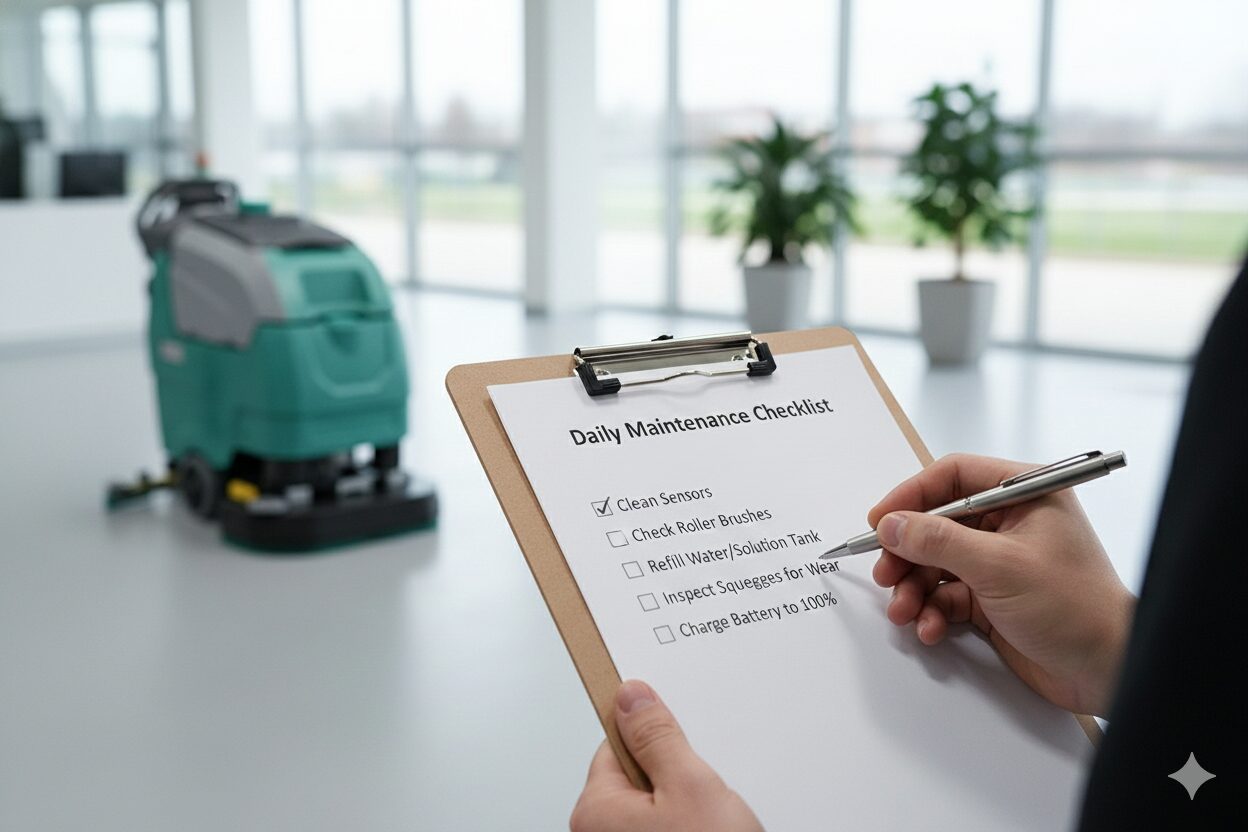
Stop Breaking Your Robots: The Essential Daily Maintenance Guide
Introduction: The “Set It and Forget It” Myth
There is a dangerous misconception in the world of facility management. We call it the “Jetsons Fantasy.” It’s the belief that you can unbox a robot, press a button, and walk away for six months while the machine magically keeps your floors pristine.
Here is the reality: Robots are not magic. They are tools.
Just like a high-performance sports car or a commercial espresso machine, an Autonomous Mobile Robot (AMR) requires a specific operational rhythm to function. If you neglect a manual mop bucket, it gets dirty. If you neglect a $40,000 robot, it breaks.

To protect your investment and ensure your ROI, your facility staff needs to shift from a “Laborer” mindset to a “Pit Crew” mindset. The actual run-time of the robot is autonomous, but the prep and the cleanup are manual.
Here is the daily “Day in the Life” routine required to keep a commercial robot floor cleaner running at peak performance.
Phase 1: The Morning Routine (Start of Shift)
Time Required: 5–7 Minutes
Before the robot begins its route, it needs a “pre-flight check.” This is critical because the robot relies entirely on its sensors to interact with reality. If the sensors are blinded, the robot is helpless.
1. The Sensor Wipe-Down (The “Eyes”)
The most common reason for a robot “stalling” in the middle of an empty hallway is a dirty sensor.
- The Task: Take a clean microfiber cloth and gently wipe the LiDAR band (the spinning cylinder or slots) and the 3D cameras.
- The Why: A single thumbprint, a smudge of dust, or a splash of dirty water on a lens can refract light. To the robot’s computer brain, that smudge looks like an obstacle—a “ghost” standing in the hallway that refuses to move.
- Rule: Never use harsh chemicals (like bleach) on the lenses; they can strip the anti-glare coating. Use water or lens cleaner only.
2. The Visual Inspection (The “Floss” Check)
- The Task: Tip the brush deck up (or look underneath) and check the main brushes and side brushes.
- The Why: Robots pick up everything. Ideally, they pick up dust. Realistically, they pick up shrink wrap, twine, long hair, and rubber bands. If a piece of plastic wrap winds itself tight around the brush axle, it will burn out the brush motor.
- The Fix: Most commercial robots have “Yellow Touch Points”—parts colored yellow that are designed to be removed without tools. Pop the brush out, slide the debris off, and pop it back in.
3. Fluid Management (Scrubbers Only)
- The Task: Fill the solution tank with clean water.
- The Critical Chemical Rule: You must add the correct ratio of Low-Foam Detergent.
- The Warning: Never, under any circumstances, use standard high-foam soap (like dish soap or generic floor cleaner).
- Why? Scrubbers use a vacuum motor to suck water off the floor. If you use high-foam soap, the recovery tank fills with bubbles. Those bubbles get sucked into the vacuum turbine, destroying the motor instantly. This is the #1 cause of catastrophic failure in scrubbers.
Phase 2: The Route (During Shift)
Time Required: 30 Seconds (Human Time)
This is where the ROI happens.
1. The Launch
The operator wheels the machine to the “Home Marker” (a sticker on the wall or a specific tile), selects the route (e.g., “Zone 4 – Cafeteria”), and presses GO.
2. The Labor Shift
While the robot spends the next 3 hours scrubbing 15,000 square feet of terrazzo, your staff member does not sit down.

- They move to “high-value” tasks.
- They clean the glass on the entry doors.
- They deep-clean the restrooms.
- They dust the tops of filing cabinets.
- They detail the baseboards.
- They engage in “coboting”—moving wet floor signs or chairs out of the robot’s path to help it run faster.
The robot handles the quantity of the clean; the human handles the quality of the detail.
Phase 3: The Evening Routine (End of Shift)
Time Required: 10 Minutes
WARNING: This is the most critical phase. If the morning routine is skipped, the robot might not run. If the evening routine is skipped, the robot will be damaged.
1. Drain the Dirty Water (The “Swamp” Factor)
- The Task: Drive the robot to the utility sink and open the recovery tank drain hose.
- The Why: You have just sucked up dirt, hair, food particles, and bacteria. If you leave that “soup” in the tank overnight, anaerobic bacteria will breed. By morning, the tank will smell like a swamp. If left for a weekend, the sediment will turn into a concrete-like sludge that clogs the internal plumbing.
- Note: More and more machines are doing this step autonomously if you have a proper docking station
- Rule: The tank must be empty at the end of every single shift. No exceptions.
2. Rinse the Tank (The “Sludge” Prevention)
- The Task: Take a hose or a bucket of clean water and splash it inside the dirty water tank while the drain is open.
- The Why: This flushes out the grit and sand that settles at the bottom.
3. Clean the Squeegee
- The Task: Wipe the rubber squeegee blade with a cloth.
- The Why: If a small pebble or a twist tie is stuck in the squeegee rubber, it will create a streak on the floor the next day.
4. Charge and Prop
- The Task: Plug the robot in (or ensure it docked properly).
- The “Propping” Rule: Leave the recovery tank lid OPEN.
- The Why: You need airflow. If you close the lid on a damp tank, mold will grow on the rubber gaskets, ruining the seal (and the suction) within weeks. Most robots have a small kickstand or prop specifically for this purpose.
Pro Tip: The “Robot Handler” Strategy
The biggest point of failure in daily maintenance is the diffusion of responsibility.
- If everyone is responsible for cleaning the robot, no one is responsible.
The Solution: Assign one “Robot Handler” per shift.
Make it a badge of honor. This person is the “Pilot.” They are the only ones allowed to map routes, the only ones allowed to clean the sensors, and the ones held accountable if the machine is found dirty in the morning.

When a staff member feels ownership over “Rosie” or “The Scrub-inator,” they take pride in its performance. When it is just “the machine,” they will ignore it.
The Bottom Line:
A well-maintained robot will last 5 to 7 years. A neglected robot will fail in 6 months. The difference is not the hardware; it is the 15 minutes of care your team provides every day.
Next Steps: Now that you’ve mastered the basics of Commercial Robot Floor Cleaner ownership, you can return to the Home page and explore machines by industry, or let our robot help you find your robot by answering a few questions, here.
New to Automation?
This article is Part 5 of our Start Here series.
← Read Part 4: Costs | Read Part 1: Technology →